
Removing golf spikes that are stuck can be a daunting task. If you don’t know how to do it correctly, you could damage your shoes or the spikes themselves.
In this blog post, we will give you some tips and tricks on how to remove golf spikes safely and efficiently. We will also provide a few helpful videos that show how it’s done.
Follow these steps, and you’ll be able to get those pesky spikes out in no time!
What are golf spikes, and how do they work?
Golf spikes are small metal or plastic spikes that are attached to the bottom of golf shoes. They help to improve traction on the golf course, making it easier to swing the club and maintain balance. There are a few different types of golf spikes, including soft spikes and metal spikes.
Soft spikes are made of rubber or plastic and are designed to provide maximum traction without damaging the greens. Metal spikes are made of steel or other hard metals, and they provide more grip than soft spikes but can damage the turf. Most golf courses require players to wear soft spikes, but some private clubs allow players to use metal spikes.
Players can also choose spikeless golf shoes, which have no spikes but provide good traction on the course.
Why should golfers remove spikes after a round of golf?
It’s essential you remove your spikes from your golf shoes frequently. Why? Because over time, these spikes can become stuck in the boot and become difficult (and sometimes impossible) to remove. If you leave your spikes in too long, they will rust and potentially damage your shoes.
Not to mention, it’s just good etiquette to clean up after yourself on the golf course. You wouldn’t want to be responsible for ruining someone else’s game because of your carelessness!
When should you remove your golf spikes

You should remove your golf spikes after every round of golf, or at the very least, after every few rounds. This will ensure that the spikes are in good condition and won’t cause any damage to your shoes or the course.
Tools you will need for removing the spike.

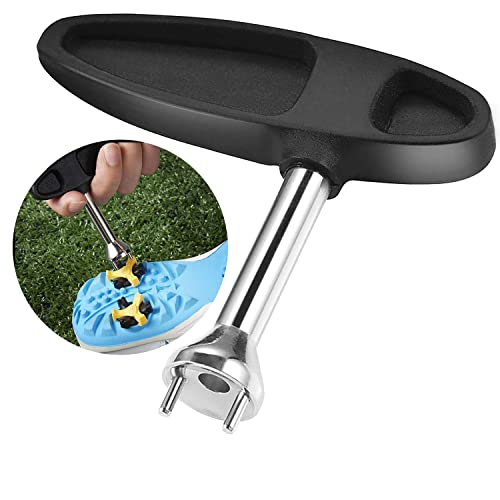
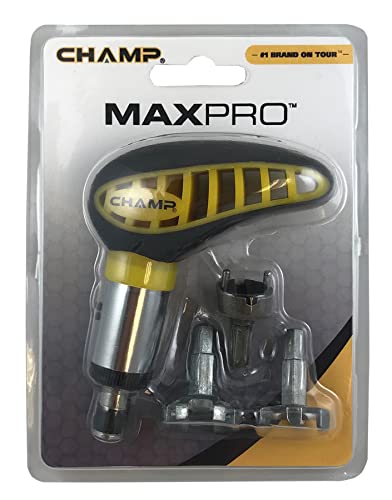
Last update on 2024-09-26 / Affiliate links / Images from Amazon Product Advertising API
Removing golf spikes can be a tricky task, but it’s definitely doable with the right tools. Here is a list of what you’ll need:
– A spike key or a golf shoe spike wrench
– A rubber mallet
– A pair of pliers
– A rag or towel
Don’t worry if you don’t have a spike key or wrench – any pair of pliers will do the trick.
How to remove spikes safely.
If you need to remove your spikes, it’s important to do so carefully.
- The first step is to find a suitable tool – ideally, a golf wrench, but pliers will work in a pinch. You’ll also need something to catch the spikes as you remove them, such as a cloth or towel.
- Next, locate the spike.
- Most golf shoes have multiple spiked cleats on the bottom.
- Unscrew the spike by turning it counterclockwise. Be careful not to damage the threads in the process.
- Once the spike is loose, pull it out of the shoe.
- Once removed, give the spike and hole a good cleaning. This will help to prevent rust and keep your spikes in good condition.
- Replace the spike by screwing it back into the shoe. Be sure not to over-tighten the spike, as this can damage the threads.
- Repeat this process for each spike on your golf shoes.
Check out these helpful videos that show how to remove golf spikes safely:
How to Remove Golf Spikes That Are Stuck
If your spikes are stuck in your golf shoes, don’t panic! There are a few ways to remove them safely and efficiently.
First, try using a golf shoe spike key or wrench to loosen the spikes. If you don’t have a tool like this, any pair of pliers will work. Gradually move the pliers around the spike until it comes loose.
Once the spike is loosened, use a rubber mallet to gently tap it out of the shoe. Be careful not to damage the spike or the shoe in the process.
If that doesn’t work, try using some WD40 or another lubricant to help loosen them. Spray a small amount of the lubricant onto the spikes and let it sit for a few minutes. Then use the spike key or wrench to loosen them and pull them out of the shoe.
Make sure to clean the spikes and holes after removing them, so they don’t rust. Screw them back into the shoe in the same position and tighten them until their snug.
Ways to store your shoes with the removed spikes
To avoid future rusting and damage to your shoes, you can store them in a few different ways when the spikes are removed.
- You can place the spikes in a small container filled with sand or rice. This will help keep them from rusting and also absorb any moisture that may be present.
- Another option is to wrap the spikes in a cloth or towel and place them in a zip-lock bag. This will help keep them from getting scratched or damaged.
- You can also store the spikes in the original box that they came in. This is a good option if you have limited storage space.
Whichever way you choose to store your spikes, make sure to do it as soon as possible after removing them from the shoes. This will help keep them in good condition for future use.
Wrapping Things Up
Removing golf spikes is a difficult task, but it can be done with the right tools. The how-to guide above should help you get started thinking about how to remove your spikes safely and efficiently.
It’s important not to worry if they’re stuck in your shoes or have lost their grip – there are plenty of ways to take care of them without damaging yourself or the shoe.
Just be patient and take your time.